There are many factors to consider when starting a makerspace. Before implementing anything, some of the questions you will want to explore are:
- What do your students care about?
- What engages your students?
- What are the main goals for the makerspace?
- What are some of the main occupations in your school’s community?
- What content/skills are you personally required to teach?
- How might the makerspace address requirements in other content areas?
- How might you collaborate with community members to create more valuable opportunities for your students?
Once you have set some goals and brainstormed a vision for your makerspace, gathering materials is likely one of your next steps. With that in mind, today I wanted to share a short list of some of my favorite things to have in a makerspace.
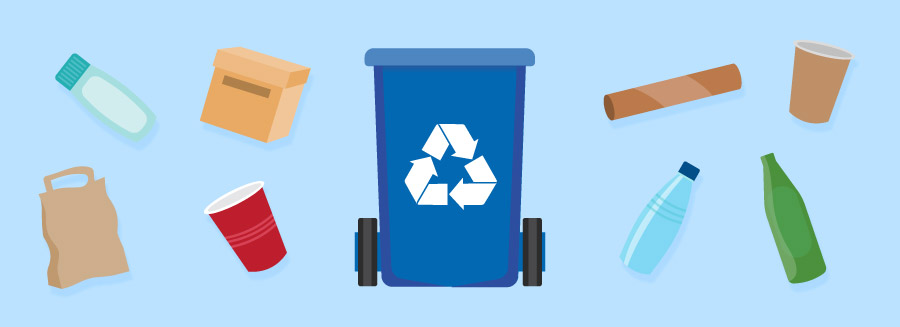
Cardboard and Other Recyclables
Cardboard and other recycled materials are easily the most versatile material you can have available in a makerspace. It is fun to see the creative, innovative products students create with simple things like paper towel rolls, empty containers, Kleenex boxes, and cereal and cracker boxes. And no matter what materials are available for students, cardboard is always a favorite. So, if you haven’t already, I highly recommend starting a collection of this somewhere in your school. If you tell other colleagues (like school maintenance and facilities staff), it won’t take long to amass a very large group of materials.
A few things to keep in mind:
- Figure out an organizational system; recyclables take up a lot of space. They can get messy and difficult to store. Where can you put them? Will your students always have access to these materials, or will you bring them out from a closet or other closed storage space during student work time? Might you separate them by type of recyclable (i.e., putting all the paper towel rolls together)?
- How will you ensure that custodial staff will know the materials are for student use and not garbage? It is helpful to keep them informed if you are planning a large-scale cardboard project, as it can be difficult to manage the extra recycled materials if the staff is not approached in advance.
- Some tools to use along with cardboard and other recyclables include:
- Duct Tape or hot glue
- Canary Cutters – I love how easy it is to cut cardboard with this tool.
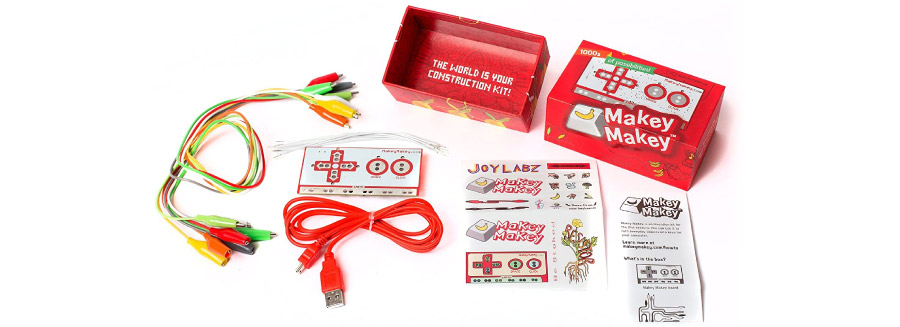
Makey Makey
The Makey Makey is one of my favorite tools because it is simple to learn how to connect, and the complexity of projects continues to grow with the user. It can be used to help students explore circuitry and coding, and it can be applied in any content area to elevate the learning. Makey Makey works just like a USB keyboard or mouse: when you plug the Makey Makey into your laptop or iPad, it sends keyboard (spacebar, arrows, etc.) and mouse signals to your computer. This empowers students to turn everyday objects that are conductive into interactive creations. To understand some of the possibilities, watch this video.
Makey Makey also recently added some plug-and-play apps (linked here) that can be really fun and helpful for students just getting started. When students successfully connect the Makey Makey, they can open one of the apps and instantly engage in something exciting. For example, one of my favorite apps is the Audio Sampler, which gives students an opportunity to play music and even create their own custom sounds.
A few things to keep in mind:
- Before students start integrating the Makey Makey with coding in Scratch, I recommend giving them opportunities to explore the plug-and-play apps using conductive materials.
- It can be helpful to have a model somewhere in the room to show students how to plug the Makey Makey in correctly.
- Some helpful materials to have on hand when working with the Makey Makey are:
- Copper tape
- 6B graphite pencils
- Cardboard
- Aluminum foil
- Brass fasteners
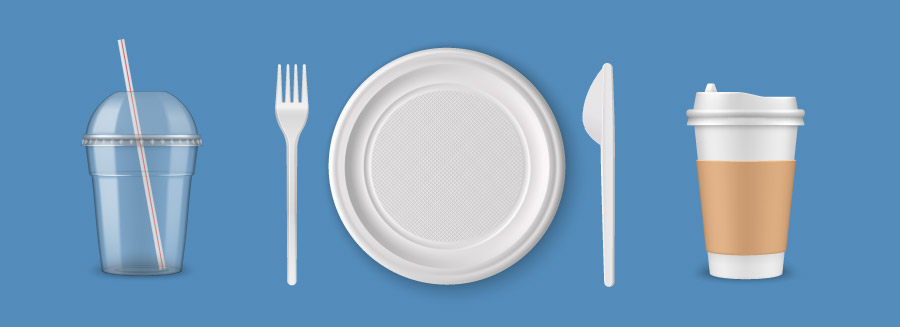
Disposable Plates, Straws, Cups of All Sizes, and Utensils
When I started facilitating more open engineering opportunities for students, I quickly discovered that cups, plates, straws, and utensils were extremely popular materials. Students would choose to use them as targets in arcade games, floatation devices, hats for robots, structural components of buildings, safe containers for their eggs in egg drop challenges, and anything else students could imagine.
A few things to keep in mind:
- I highly recommend getting a variety of shapes, sizes, and materials for these items as they will come in handy.
- Paper cups, bowls, and plates are the most versatile because they are the easiest to modify and cut.

K’NEX
When I worked at a science center, K’NEX was the first tool I pulled out for visitors to use. I had never actually explored K’NEX myself, but I discovered that students were eager to teach me. After I kept a few builds that some of the first visitors created, our collection quickly grew as every visitor wanted their unique creations put on display in our classroom. K’NEX is one of the only tools that seems to appeal to people of all ages (although the classic pieces can be difficult for primary students to connect and pull apart). I had elementary students and adults spending significant amounts of time building a wide variety of objects when they visited the space. In fact, one day a family came in and spent hours creating a bridge that spanned the entire room. K’NEX is an easy and engaging tool that gives students opportunities to engineer solutions to a wide range of challenges.
A few things to keep in mind:
- I found it helpful to put challenge cards out for visitors to browse. This provides structure and a focus for those who need it.
- K’NEX offers some general building tips for beginners located here.
Although these are some of my favorite items to use in a makerspace, every community space has unique needs. If you are looking for the right tools for your makerspace but you don’t know where to start, I’d love to support you by creating a list of custom product recommendations for free! Fill out our Needs Assessment Guide to get started.
Stay tuned for some robotics recommendations and more of my favorite things in Part 2!


